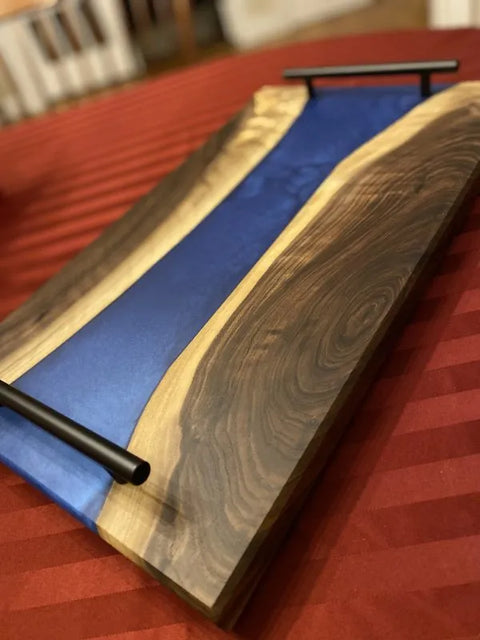
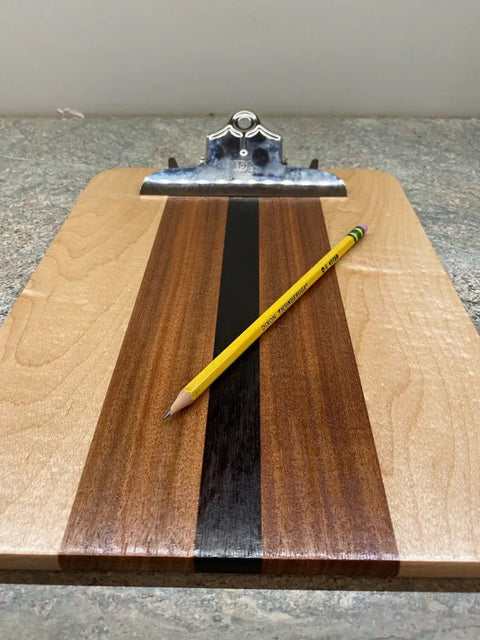
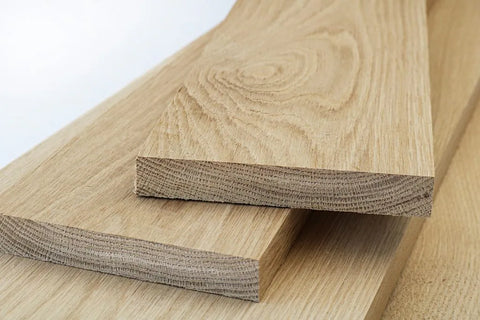
You’ve put in the time and effort in gathering, cutting, and connecting all the high-quality lumber in your latest woodworking endeavor, now, all you have to do is add the finishing touches. Picking the best finisher for your woodworking project can be a daunting task with all of the available tools at your disposal. Fortunately, we would like to share our tried and true finishing techniques. After reading this article, you will know what types of finishers to apply on your latest artisanal craft as well as their general application processes.
Penetrating Finishes (Oil)

Penetrating finishes, commonly referred to as “oil”, are wood finishes that penetrate wood fibers and protect your wood while maintaining its natural texture and appearance. The four most common types of oil are: Danish, Linseed, Tung, and Teak Oil. Each type of oil has its own specific drawbacks and advantages that will influence your final decision based on your specific needs.
Danish Oil
Danish oil is naturally occurring oil utilized that strengthens wood from water and food. It is, therefore, popular in kitchen worktops, food utensils, tool handles, and other wooden kitchen tools. It is considered the cheapest of the four most common types of oil and is therefore useful when fulfilling bulk orders where financial manufacturing concerns may be an issue.
Linseed Oil
Linseed Oil is a naturally occurring oil that comes from the seeds of a flax tree. It adds shine, durability, and protection to surfaces and is popular in furniture, refinishing floors, and wooden flags. The oil seeps into the wood and hardens, forming a protective coating that resists staining and damage. It also enhances your wood’s natural beauty. It should be noted, however; that it requires the most maintenance and reapplication compared to the other oils.
Tung Oil
Another naturally occurring oil from the fruit of a Tung Tree, produces a high-quality finish on wood, making it durable, water-resistant, and easy-to-maintain. It has a long curing time, making it the most durable oil finisher out of the four main oils. A drawback of Tung Oil, however, is that it is the most expensive oil out of the four main oils and is thus more financially draining when fulfilling bulk orders. It is, therefore, recommended to use this oil for more individual projects.
Teak Oil
The final oil of the main four oils is teak oil; from the fruit of the teak tree, makes wood more durable and resistant to the elements. It resists against UV rays, moisture, and mildew, making it a great option for outdoor crafts. It is also able to repel water and is used to enhance the beauty of your wood, especially teak wood. Although not as expensive as tung oil, it is a close second and should be used for aesthetic purposes rather than durability. It should also be used for more individual projects due to its price.
General Application Process
Before you start your application process, you should always refer to your manufacturer’s specific instructions, however; below is a general guide as to how you should apply your oil as a finishing touch to your woodworking project.
- Clean, dry, and dust off the wood surface from any debris or previous finishes. Sand the wood if needed to smooth the surface.
- Select the oil finish above, read the specific manufacturer’s instructions for the product you’re using.
- Apply the oil finish by utilizing a lint-free cloth or a brush/sponge to apply a thin and even layer on the entire surface. Let the oil dry as specified by your manufacturer’s instructions to allow it to penetrate and condition the wood and reapply to achieve your desired saturation and richness as needed.
- Cure the wood to let the oil fully cure and dry as part of your instructions. This may take several days or weeks depending on the environment and the type of oil.
- Maintain and reapply as needed. Follow your manufacturer’s recommendations for ongoing care and maintenance.
Polyurethane

Polyurethane is a plastic material utilized in counters, window sills, door frames, furniture, picture frames, indoor/outdoor decor items, and boat components. It is popular for its durability and long-term protective coating on woodworking items. Polyurethane is especially renowned for its waterproofing ability against stains, and moisture/humidity/elemental damage resistance. For the above reasons, this finisher is a versatile finishing option, however; due to its usage of plastics in its creation, you should not utilize it as a finisher for cooking products. Common polyurethane products include oil-modified polyurethane, alkyd polyurethane, waterborne polyurethane, and two-part polyurethane.
Oil-modified Polyurethane
Similar to penetrating finishes, but combines oil resins and polyurethane resins to increase durability and water resistance. It is used primarily in wooden surfaces. It has a faster drying time than traditional oil finishers, but it has the highest concentration of volatile organic compounds out of all of the polyurethane products listed.
Alkyd Polyurethane
Alkyd Polyurethane combines alkyd resins with polyurethane resins, has a higher durability and is less likely to “yellow” over time. It also has a lower surface tension that makes it easier to apply and work with. It’s biggest drawback is that its disposal is an extensive process that involves the removal of several solvents to prevent environmental pollution.
Waterborne Polyurethane
Waterborne Polyurethane uses water as a base material modified with polyurethane resins, similar to oil-modified polyurethane. It does not have any oil-based materials and thus has lower VOC (volatile organic compounds) emissions and thus has lower health risks. The only drawback it has is that it requires more coats than the other polyurethanes and, thus, will be more financially draining.
Two-part Polyurethane
Involves mixing two liquids together to create a hard polymer coating, the most durable and expensive polyurethane finisher. It is a great choice in protecting against scratches, UV exposure, high temperature, and more. Its greatest drawback is that it has the most complex application process out of all the polyurethane finishes and requires much caution due to the presence of hazardous material and inherent complexity.
General Application Process
The application process of polyurethane is the most intensive out of all the finishers, and thus, it is imperative to review the product-specific application process given to you by your manufacturer. Nonetheless, here is a general application process of polyurethane:
- Clean, dry, and dust off the wood surface from any debris or previous finishes. Sand the wood if needed to smooth the surface.
- Stir the polyurethane using a stir six to mix any settled particles and to allow for an even consistency.
- Use a high quality brush, foam brush, or roller to apply the first polyurethane coat. Start from one end of the wood and work towards the other end. Ensure that you don’t over-brush to avoid bubbles or brush marks.
- Allow drying time specified by the manufacturer.
- If there are any imperfections, sand the polyurethane using fine grit-sandpaper.
- Apply additional coats, at least two or three coats for durability and protection. Allow each coat to dry completely before applying the next one.
- If you desire a very smooth finish, lightly sand between coats using fine-grit sandpaper to promote adhesion between the layers. Just make sure to wipe away the sanding dust before applying the next coat.
- Final cure: After the final coat, allow polyurethane to cure as laid out by your manufacturer’s instructions. Typically ranging from a few days or a few weeks depending on the product.
Wax Finishes

Protective coating that provides a glossy and decorative finish. Found on furniture pieces such as chairs, tables, cabinets, etc., and are popular for their easy application process and minimal maintenance. In exchange for their ease of maintenance and easy application, they are not as durable as the other types of finishes such as polyurethane and penetrating finishes. The main types of wax finishes are Carnauba Wax, Beeswax, and Microcrystalline Wax.
Carnauba Wax
One of the hardest natural waxes, it has a hard, glossy, shine. Typically used in wooden items such as bowls, pens, or decor. It is also either used as a topcoat or in combination with other finishes in furniture woodworking. It is important to note that Carnauba Wax has limited heat resistance and will melt under direct sunlight or in intense heat and is the most expensive wax due to its high demand and labor intensive process to create it.
Beeswax
A moderately soft, sticky wax with a pleasant smell and has a mellow glow. Utilized in furniture and accessory care alongside restoration. Beeswax can be used as a standalone or combined with natural oils or solvents to create a polish, a great example of this is within our own cutting board conditioner used in maintaining cutting boards. It is the least durable wax because of its softness, therefore, it isn’t recommended for intense and inconsistent environments.
Microcrystalline Wax
Petroleum-based wax that is resistant to moisture and heat. Used as a protective coat or in combination with other waxes to provide a smooth, satin finish. Utilized in flooring protection for hardwood floors and as another furniture protection to protect against water, scratches, and general wear and tear. It is the most durable wax out of the three main types of wax finishes and has the highest melting point. It is important to note, however; that its application process is the most intensive out of all the waxes due to its denser consistency and high melting point that demands proper technique and tools.
General Application Process
The general application process for a wax finisher is the least intensive out of all the finishers listed, however; it is still important to check your manufacturer’s specific instructions to ensure that your finisher is properly applied. The process goes as follows:
- Clean, dry, and dust off the wood surface from any debris or previous finishes. Sand the wood if needed to smooth the surface.
- Soften the wax as needed, as waxes such as beeswax or some other paste waxes need to be softened before application. This is done by gently heating the wax in a double boiler or using a heat gun on low heat.
- Apply the wax similar to the oil finish.
- Allow drying and absorption for a few minutes so it can soften and penetrate the wood pores.
- Buff the surface with a clean cloth or buffing pad in circular motions. This helps distribute and melt the wax which creates a smooth, even, finish. Continue until the quality of your buff is desired.
- Add additional coats depending on your desired level of protection or sheen, allow each layer to dry before the next.
- Final buffing: After the wax has fully dried and cured, provide a final buffing to remove any excess wax residue and achieve your desired luster. You can do this with a clean soft cloth or buffing wheel.
Conclusion

All in all, penetrating finishes, polyurethane, and wax finishes all have their place in your woodworking projects. Whether you want to make a durable boat with coats of two-part polyurethane or if you’re restoring old furniture with beeswax, you now know the tools that we at Planeta Woodworking use at our disposal to make masterful handcrafted, American-made woodworking products. Make sure to consider all the types of finishers to apply for your next woodworking project to help in making your next magnum opus!


